15. Project Workspace Instructions
Capstone project workspace
Congratulations, you've made it to the capstone project! The workspace you will use to complete the capstone is designed to be a simple, easy to use environment in which you can code and run the project. The project repo and simulator are already included.
Accessing and using the workspace:
- Go to the workspace node. You will be asked if you want to use a GPU-enabled workspace - click "Yes". Note that this workspace cannot be run without GPU support.
- Once the workspace loads (see figure below), you should see a list of directories and files on the left, central panes in which you can open files and terminal windows, and two buttons in the lower right corner - the standard "Next" button, and a button which will take you to the workspace desktop.
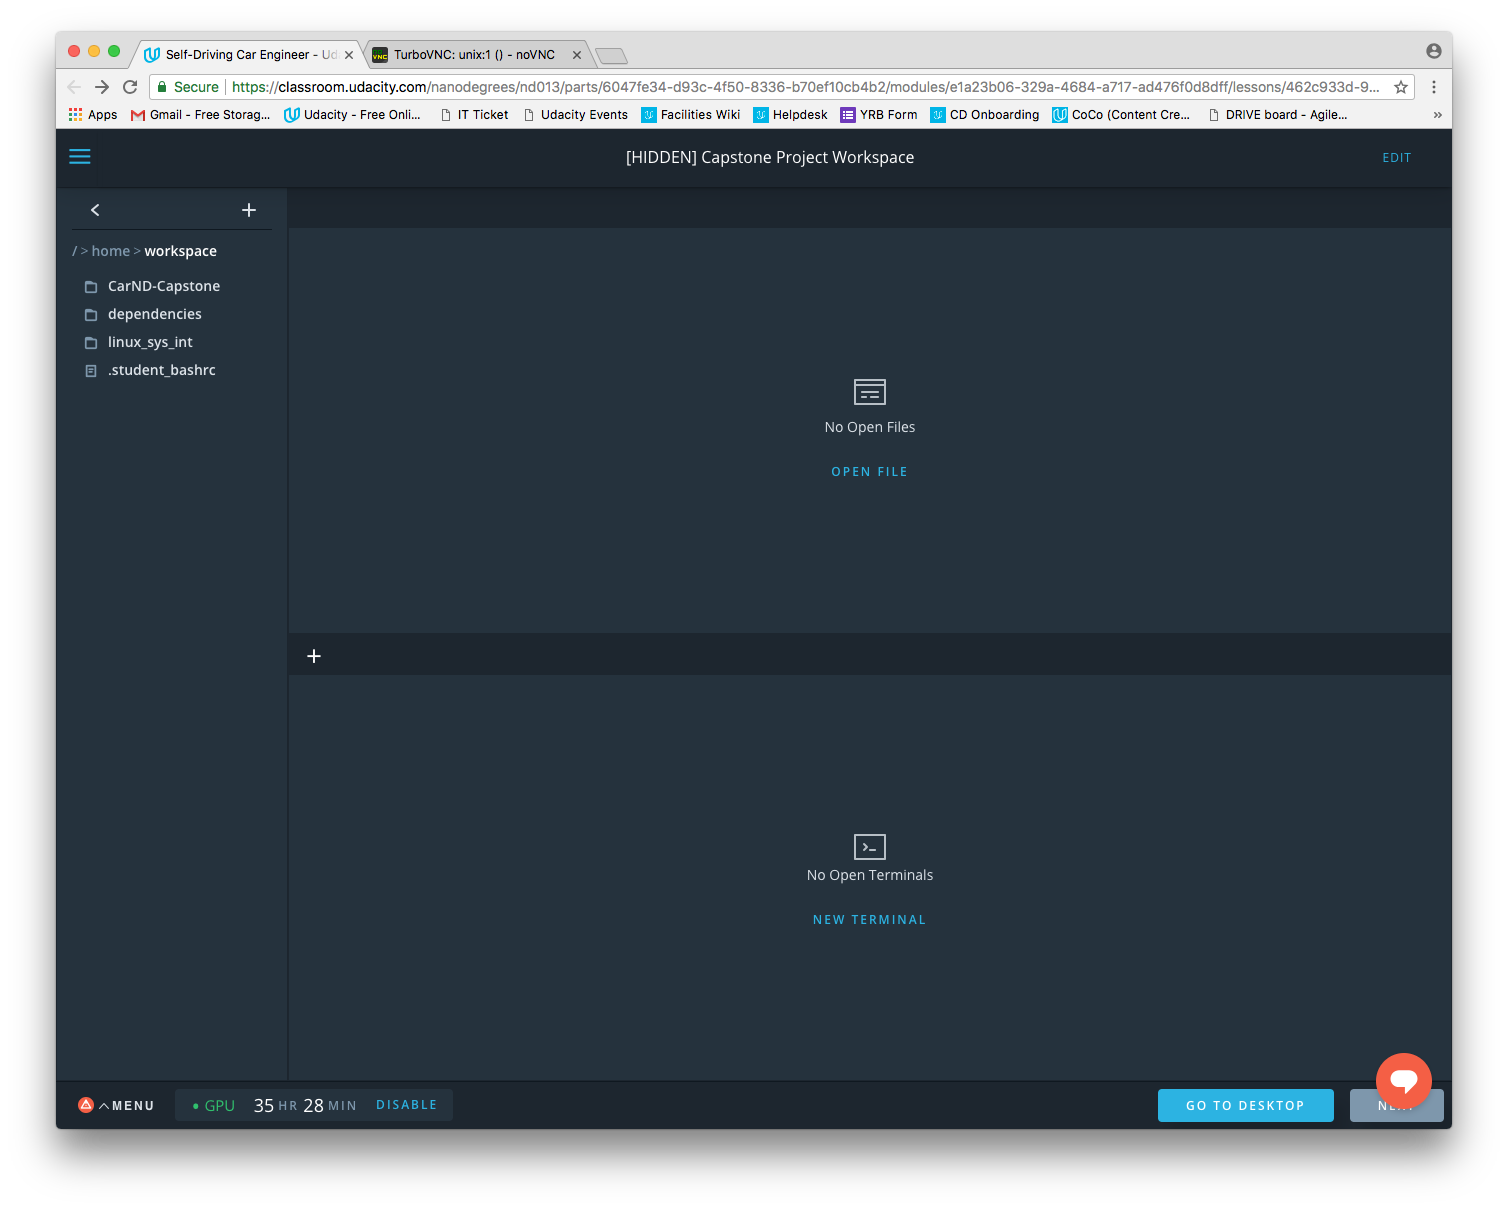
Workspace home screen
-
In the workspace, the
.student_bashrcandsimulator.desktopfiles do not need to be changed for this project (they provide the correct environment for the terminal and the desktop launcher for the simulator). -
The project repo is already in the workspace at
/home/workspace/CarND-Capstone. - You can run the project from your workspace terminal using the commands found in the project repo's README under "Make and run styx". Same set of commands are given here:
  cd /home/workspace
  cd CarND-Capstone
  pip install -r requirements.txt
  cd ros
  catkin_make
  source devel/setup.sh
roslaunch launch/styx.launch- After launching the project, click "Go To Desktop" to open the workspace desktop. This will open up the VNC client - “noVNC” in another tab (see figure below).

VNC client - “noVNC”
- Double click on the “Capstone Simulator” file available on the desktop. This will start the simulator.
-
In the simulator, test car drive in two separate ways while the car is in “Manual” mode:
- Camera mode OFF - Test car drive with manual handling.
- Camera mode ON - Test car drive while the car is stationary.
- In the workspace, make the necessary changes to the project. If needed, you can refresh the workspace by clicking the “Menu” on the bottom left corner of the workspace screen.
- Once you have made the changes in the project, restart the simulator and test your code in the "Camera" mode.
Project submission when using the workspace:
- To submit your project, you will need to download your work from the workspace. After doing so, follow the submission instructions (different for Team Leads and Team Members) found in the final concept for this project.
Things to keep in mind:
- If you leave your workspace unattended, it will time out and need to be refreshed. Your most recent work will be restored, but the list of open files or any running shell sessions will not be restored.
- Only work in the /home/workspace directory will be saved. Files downloaded to /opt, for example, will not be kept.
-
If you upload additional files, be mindful of file size since the workspace storage capacity is limited to 2GB. If you need to store large files temporarily, you can put them in the
/optdirectory. These will be removed automatically at the end of your session. -
To download files into the workspace from a URL, you can use
wgetfrom the command line. For example, to download the testing rosbag to the/optdirectory, the following could be used:
  cd /opt
wget https://s3-us-west-1.amazonaws.com/udacity-selfdrivingcar/traffic_light_bag_file.zip- You will be limited to 50 hours of time using the GPU-enabled workspace.
Suggestions:
-
If you are having trouble with latency when turning on camera images in the simulator, try classifying only every third or fourth camera image.
-
If you are uploading your own previous work, be sure to make all Python files executable. In Ubuntu, this can be done from the command line with the
chmodcommand. The following command should add executable permissions to all Python files in the specified directory:find /home/workspace/your/directory -type f -iname "*.py" -exec chmod +x {} \; -
Additionally, if you are uploading your own previous work, you will need to add the folder found in
/home/workspace/CarND-Capstone/ros/src/dbw_mkz_msgsto your project.